The Modern Traveler’s Dilemma: Connectivity vs. Cost
Picture this: You have just landed in a foreign country after a long, exhausting flight. You navigate through customs, grab your luggage, and head toward the exit. You pull out your smartphone to order a rideshare to your hotel, but the app has logged you out due to a location change. To log back in, the app insists on sending a Two-Factor Authentication (2FA) SMS code to your home phone number.
Panic sets in. If you turn on your home carrier's SIM card to receive that single text message, you will instantly trigger a daily international roaming pass—often costing anywhere from $10 to $15 per day. If you leave your home SIM off, you are locked out of your rideshare app, your banking apps, and potentially your email. Furthermore, what if there is a family emergency back home and someone needs to reach you immediately?
For years, travelers have faced this frustrating binary choice: pay exorbitant fees to keep their home number active, or swap out their physical SIM card for a local one, effectively cutting themselves off from their digital identity and vital communications.
Fortunately, mobile technology has evolved. Thanks to the widespread adoption of Dual SIM technology and the revolutionary convenience of embedded SIMs (eSIMs), you no longer have to choose between staying connected to your life back home and avoiding massive cellular bills. You can have the best of both worlds.
In this comprehensive, highly detailed guide, we are going to demystify Dual SIM technology. We will walk you through exactly how to configure your smartphone to keep your home number active for crucial 2FA texts, bank alerts, and emergency calls, all while routing your actual internet traffic through an affordable travel eSIM. By the end of this article, you will be a master of mobile data, ready to travel the globe without ever fearing a roaming shock again.
Section 1: Understanding the Anatomy of a Roaming Fee
🇺🇸 United States High-Speed Travel eSIM & SIM Plans
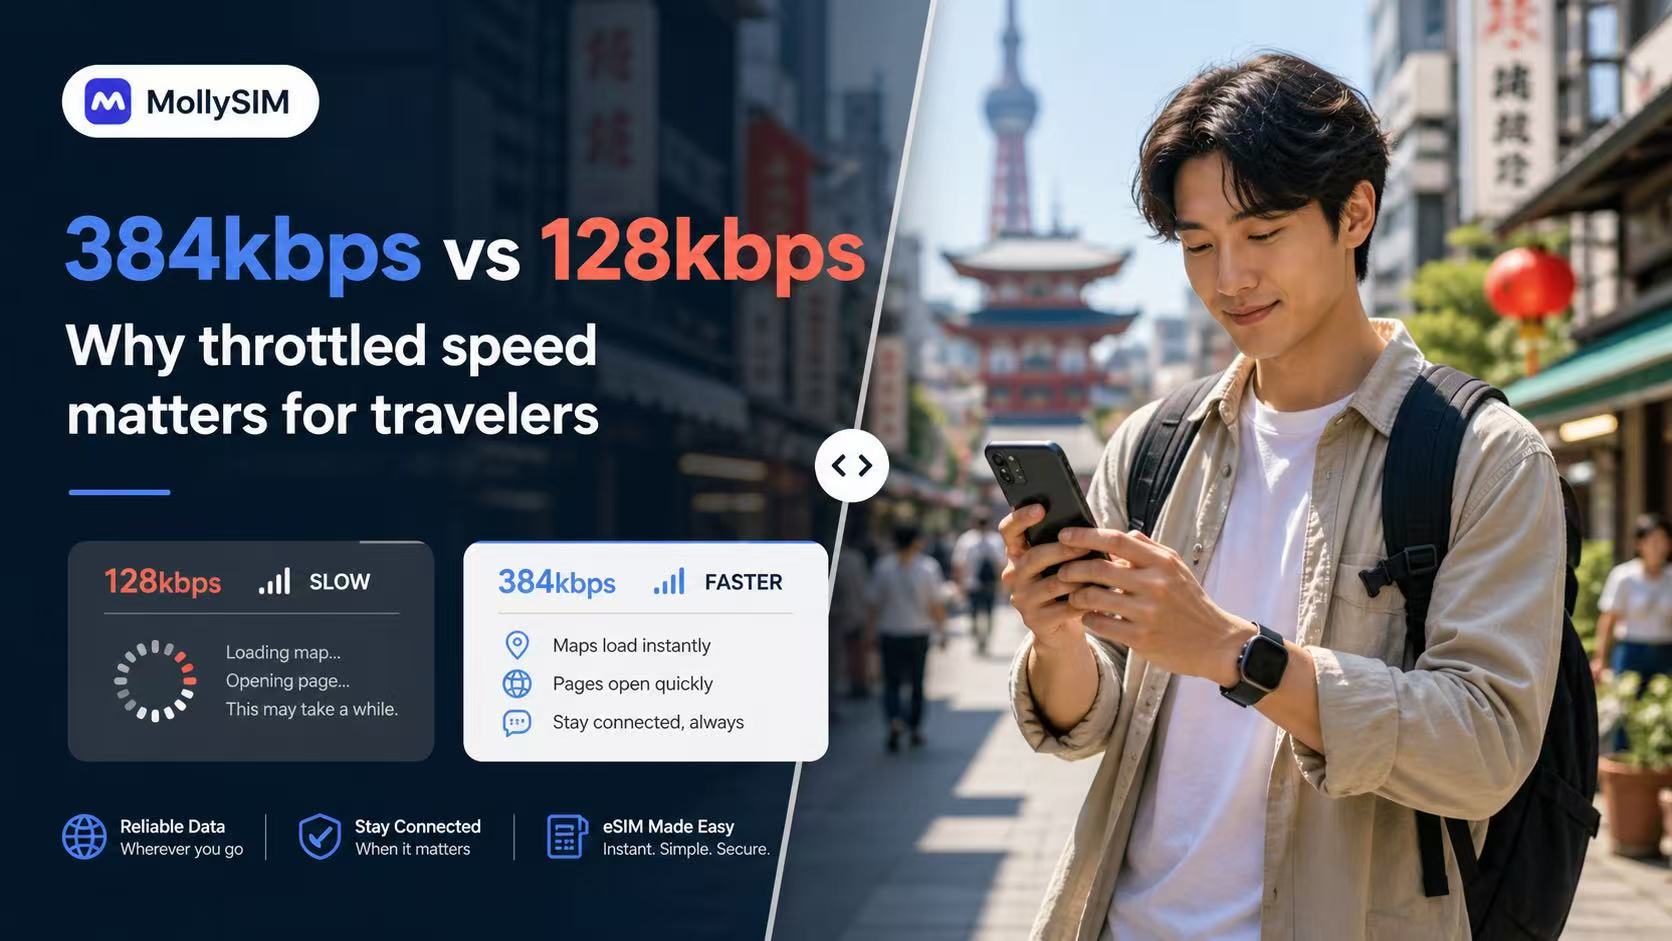
Instant QR code activation, hotspot enabled, with guaranteed 384kbps fallback speed to keep Maps & Digital Wallets active.
To effectively avoid roaming charges while keeping your home number active, you first need to understand exactly how your home carrier decides to charge you. Many first-time eSIM users avoid switching because they simply do not understand how to manage two lines simultaneously without triggering these dreaded carrier fees.
The "Daily Pass" Trigger
Most major telecommunications providers have shifted away from charging by the megabyte or the minute, instead opting for "Daily Travel Passes." These passes typically charge a flat rate (e.g., $10 or $12) for 24 hours of access to your standard domestic plan allowances while abroad.
While convenient for those who don't want to think about their usage, these daily passes are incredibly sensitive. A daily pass is typically triggered the exact second your home SIM card does any of the following while connected to a foreign cellular network:
- Uses Cellular Data: Even a single kilobyte of data used by an app refreshing in the background (like an email client checking for new messages or a weather app updating its widget) will trigger the fee.
- Sends an Outgoing SMS Text Message: Typing a quick "I landed safely!" text and hitting send via standard SMS will activate the daily charge.
- Makes an Outgoing Phone Call: Dialing any number, local or international, over the cellular voice network triggers the pass.
- Answers an Incoming Phone Call: If your phone rings and you answer it over the foreign cellular network, you are charged.
The "Free" Actions (The Loophole)
Crucially, there are a few actions that generally do not trigger a daily roaming pass with most major carriers. Understanding these is the key to mastering Dual SIM travel:
- Receiving an Incoming SMS Text Message: For the vast majority of carriers worldwide, receiving a standard SMS text message (like a 2FA code or a bank alert) is completely free and will not trigger a daily roaming charge.
- Receiving a Phone Call and NOT Answering It: If your phone rings and you let it go to voicemail, you generally will not be charged (though there are complex exceptions regarding conditional call forwarding, which we will discuss later).
- Using Wi-Fi Calling: If your phone is connected to a Wi-Fi network and routes your calls and texts through the internet rather than the local cellular towers, your carrier treats it as if you are sitting on your couch back home.
The entire strategy of mastering Dual SIM revolves around exploiting these "free" actions while absolutely preventing your phone from performing any of the "trigger" actions on your home line.
Section 2: What is Dual SIM and How Does it Work?
Before we dive into the step-by-step settings, let's establish a clear technical understanding of what Dual SIM actually means on a modern smartphone.
Physical SIM vs. eSIM
Historically, a SIM (Subscriber Identity Module) was a physical piece of plastic with a microchip that you inserted into a tray on the side of your phone. It contained the cryptographic keys necessary to identify you to your carrier's network.
An eSIM (embedded SIM) is a tiny, rewritable chip soldered directly onto your smartphone's motherboard during manufacturing. Instead of inserting a physical card, you simply download a digital "profile" that contains the same cryptographic keys. This allows you to switch carriers or add new data plans in seconds by scanning a QR code or using an app.
Dual SIM Dual Standby (DSDS)
Modern smartphones (including the iPhone XS and newer, and most recent Android flagships) feature a technology called Dual SIM Dual Standby (DSDS). This means the phone has two IMEI numbers and can connect to two different cellular networks simultaneously.
Depending on your device model, DSDS can be achieved through:
- One Physical SIM + One eSIM: The most common configuration for phones made between 2018 and 2022. You keep your home carrier on the physical SIM and download a travel eSIM.
- Two eSIMs: Newer devices (like the iPhone 13 and later, particularly US models of the iPhone 14 and 15 which lack a physical SIM tray entirely) can run two active eSIM profiles at the exact same time.
When DSDS is active, both lines are "listening" for incoming connections. If someone calls your home number, the phone will ring. If someone calls your travel number, the phone will ring. However, because there is typically only one set of radio antennas for transmitting voice, if you are actively on a phone call on Line 1, Line 2 will temporarily be unavailable (calls to Line 2 will go straight to voicemail).
The Goal of the Dual SIM Traveler
When you travel, your goal is to set up your DSDS configuration as follows:
- Line 1 (Home Number): Set to Voice & SMS only. Cellular data is completely disabled. Data roaming is completely disabled. It exists purely to receive incoming texts (free) and to utilize Wi-Fi calling.
- Line 2 (Travel eSIM): Set as the primary and ONLY source of cellular data.
Section 3: The Magic Feature: Wi-Fi Calling over Cellular Data (Backup Calling)
This is the most critical, highly technical, and often misunderstood aspect of modern Dual SIM travel. If you understand this concept, you have unlocked the ultimate travel hack.
We established earlier that using "Wi-Fi Calling" is free. When you turn on Wi-Fi Calling, your phone bypasses the local cellular towers and creates a secure, encrypted tunnel (similar to a VPN) directly to your home carrier's servers over the internet. Because your home carrier handles the call over the internet, they don't have to pay roaming fees to the foreign network, and therefore, they don't charge you.
But what happens when you step out of your hotel and lose your Wi-Fi connection? Do you lose access to your home number?
Enter "Wi-Fi Calling over Cellular Data" (also known as Backup Calling or Auto Data Switching).
Modern smartphones (specifically iPhones running iOS 13 or later, and select recent Android devices) have a brilliant feature built-in. If your home SIM card loses its connection to its native network (or if you intentionally force it to), the phone's operating system will look at your second SIM (the travel eSIM).
The phone will say: "I see that Line 1 has no service, but Line 2 has a strong 4G/5G data connection. I am going to use Line 2's internet connection to simulate a Wi-Fi connection for Line 1."
Your home line essentially piggybacks on your travel eSIM's data connection. On an iPhone, your status bar will literally change from displaying the home carrier's name to displaying: "[Home Carrier Name] using Cellular Data."
When this happens, you achieve the holy grail of travel connectivity:
- You can make and receive calls from your home number as if you were sitting in your living room.
- You can send and receive standard green-bubble SMS texts to anyone in the world.
- Your home carrier thinks you are on Wi-Fi, meaning zero roaming charges.
- You are entirely powered by the cheap, local data provided by your travel eSIM.
Now that we understand the theory, let's look at exactly how to configure your devices to make this happen flawlessly.
Section 4: Step-by-Step Guide: Configuring Your iPhone for Dual SIM Travel
Apple has made Dual SIM management incredibly robust, but the settings can be a minefield if you don't know exactly what you are doing. One wrong toggle can result in a $10 daily charge. Follow these steps meticulously.
Phase 1: Pre-Trip Preparation (Do this at home)
Step 1: Verify Wi-Fi Calling is Active Before you leave your home country, you must ensure Wi-Fi calling is activated on your home line. You usually cannot activate this feature for the first time while abroad due to carrier security restrictions.
- Go to Settings > Cellular (or Mobile Data).
- Tap on your Home Carrier line.
- Tap Wi-Fi Calling.
- Toggle on "Wi-Fi Calling on This iPhone."
- You may be prompted to enter an Emergency Address. Fill this out.
Step 2: Purchase and Install Your Travel eSIM Do not wait until you are standing in a foreign airport trying to connect to spotty public Wi-Fi. Purchase your plan ahead of time. When you are ready to get started, you can browse MollySIM eSIM plans to find the perfect data package for your itinerary.
Once purchased, follow the instructions to install the eSIM. Usually, this involves scanning a QR code or pasting a manual configuration code.
- When prompted to label the new plan, choose a clear name like "Travel Data" or "MollySIM."
- When prompted for the Default Line for Voice, keep it as your Home Line.
- When prompted for iMessage & FaceTime, keep it as your Home Line.
- When prompted for Cellular Data, select your Home Line for now (you will switch this on the airplane).
Phase 2: The Airplane Configuration (Do this while flying)
While you are in the air and your phone is in Airplane Mode, it is time to switch your network routing.
Step 1: Set the Data Line
- Go to Settings > Cellular.
- Tap Cellular Data.
- Select your new travel eSIM (e.g., "MollySIM").
- CRITICAL: Ensure that "Allow Cellular Data Switching" is toggled OFF.
- Why? If this is on, your iPhone is allowed to switch back to your home line for data if the travel eSIM's signal drops. A single byte of data slipping through your home line will trigger a roaming fee. Keep this OFF.
Step 2: Lockdown the Home Line
- Go back to Settings > Cellular.
- Tap on your Home Line under the "SIMs" section.
- CRITICAL: Ensure Data Roaming is toggled OFF for your Home Line. This is your primary safety net against accidental data usage.
- Leave "Turn On This Line" toggled ON. Remember, we want the line active to receive free incoming SMS texts.
- Ensure "Network Selection" is set to Automatic.
Step 3: Activate the Travel Line
- Go back to Settings > Cellular.
- Tap on your Travel eSIM under the "SIMs" section.
- Ensure "Turn On This Line" is toggled ON.
- Ensure Data Roaming is toggled ON for your Travel eSIM. (Travel eSIMs almost always require data roaming to be active in order to connect to local partner networks).
Phase 3: Arrival and Verification
When you land and turn off Airplane Mode, your phone will search for signals.
- Your Travel eSIM should connect to a local network (e.g., Vodafone, Orange, NTT Docomo) and display 4G or 5G.
- Your Home Line will attempt to connect to a roaming partner. Because you turned Data Roaming off, it will not use data. Because you aren't making calls or sending texts, it won't trigger a fee. It is simply resting in standby mode, waiting for incoming texts.
If you want to force the "Wi-Fi Calling over Cellular Data" feature we discussed in Section 3, you can manually select a network for your home line that you know won't connect (thus forcing it to look to the travel eSIM for a connection). However, for most users, simply leaving it on Automatic is sufficient for receiving 2FA texts.
Section 5: Step-by-Step Guide: Configuring Your Android for Dual SIM Travel
Android devices vary wildly in their menu structures depending on the manufacturer. A Samsung Galaxy operates differently than a Google Pixel. However, the core principles remain exactly the same: isolate data to the eSIM, and isolate voice/SMS to the home SIM.
Phase 1: Pre-Trip Preparation (Do this at home)
Step 1: Activate Wi-Fi Calling
- Samsung: Open the Phone app, tap the three dots in the top right, go to Settings, and toggle on Wi-Fi Calling.
- Pixel: Go to Settings > Network & internet > Calls & SMS > Wi-Fi Calling and toggle it on.
Step 2: Install Your Travel eSIM Just like with the iPhone, install your eSIM before you travel.
- Go to Settings > Connections > SIM Manager (Samsung) or Settings > Network & internet > SIMs (Pixel).
- Add the eSIM using the QR code provided by MollySIM.
Phase 2: The Airplane Configuration (Do this while flying)
Step 1: Designate the Primary Data Line
- Samsung: Go to Settings > Connections > SIM Manager. Under "Preferred SIMs," tap Mobile Data and select your travel eSIM.
- Pixel: Go to Settings > Network & internet > SIMs. Tap your travel eSIM and toggle on Mobile Data.
Step 2: Disable Auto Data Switching
- Samsung: In the SIM Manager, ensure "Auto data switching" is toggled OFF. This is the exact equivalent of Apple's "Allow Cellular Data Switching" and is critical for preventing roaming leaks.
- Pixel: Google handles this slightly differently. Under your Home SIM settings, ensure that "Mobile data" is toggled OFF.
Step 3: Lockdown the Home Line
- Go into the specific settings for your Home SIM.
- CRITICAL: Ensure Data Roaming is toggled OFF for your Home SIM.
Step 4: Enable Roaming on the Travel eSIM
- Go into the specific settings for your Travel eSIM.
- Ensure Data Roaming is toggled ON so the eSIM can connect to local towers.
Phase 3: Android Backup Calling Nuances
It is important to note that "Backup Calling" (routing home calls over travel eSIM data) is not universally supported on all Android devices or all carriers. Google Pixel 7 and newer support it natively (often called "Backup Calling" in the SIM settings). Samsung devices support it on select carriers (sometimes labeled as "Auto Data Switching" but configured specifically for voice).
Even if your Android device does not support Backup Calling, you will still be able to receive incoming 2FA SMS texts for free over the standard cellular roaming connection, provided you do not answer calls or send outgoing texts.
Section 6: Managing 2FA, iMessage, and WhatsApp Abroad
Communication apps handle dual SIM environments differently. Here is how to manage the most common platforms while traveling.
The 2FA Text Message (SMS)
As reiterated throughout this guide, standard SMS text messages use the cellular voice control channel, not the data channel. This means that as long as your home SIM is turned on and has a signal (even if data roaming is off), you will receive 2FA texts from your bank, credit card company, or email provider.
Rule of thumb: Receiving SMS is free. Sending SMS costs money. If you receive a text from your bank asking you to reply "YES" to confirm a transaction, replying "YES" via standard SMS will trigger a daily roaming pass. Try to confirm via the bank's mobile app instead, using your travel eSIM data.
iMessage and FaceTime (Apple Users)
iMessage operates entirely on data (internet), not the cellular SMS network. This makes it incredibly travel-friendly, but you must configure it correctly.
When you travel, you want iMessage to continue sending and receiving from your Home Phone Number, but you want it to use the internet connection provided by your Travel eSIM.
- Go to Settings > Messages > Send & Receive.
- Ensure your Home Phone Number is checked under "You can receive iMessages to and reply from."
- Ensure your Home Phone Number is checked under "Start new conversations from."
Because your iPhone's primary cellular data is set to the travel eSIM, all iMessages will silently and freely route through the travel data connection. You can send thousands of high-resolution photos to your family back home, and it will only consume your eSIM data, never triggering a carrier roaming fee.
WhatsApp, Telegram, and Signal
These applications are hardware-agnostic. They are tied to your phone number at the time of registration, but they do not care which SIM card is providing the internet connection.
When you land in a new country and turn on your travel eSIM, WhatsApp will function exactly as it did at home. You do not need to register your new travel eSIM number with WhatsApp. Your friends and family will still see your messages coming from your standard home number. All voice calls, video calls, and messages made through WhatsApp will utilize your travel eSIM data.
Section 7: Where to Buy the Right eSIM Plan
Choosing the right eSIM provider is just as important as configuring your phone correctly. You need a provider that offers reliable, high-speed data on top-tier local networks, without throttling or hidden restrictions.
For a seamless experience, we highly recommend checking out our dedicated regional and country-specific plans. Whether you are taking a short business trip or a month-long backpacking adventure, we have a tailored solution:
- Heading to Europe? Navigating the fragmented networks of the EU can be tricky. Our Europe regional eSIM plans provide seamless borderless connectivity across dozens of countries. You can take a train from Paris to Berlin to Rome without ever changing your settings or losing your data connection.
- Visiting the US? The United States is massive, and network coverage varies wildly. The USA eSIM plans connect you to premium nationwide networks (like AT&T and T-Mobile), ensuring you have fast 5G data whether you are in downtown Manhattan or exploring the Grand Canyon.
- Exploring Japan? Japan is famous for its intricate transit systems and language barriers; reliable data for maps and translation is non-negotiable. Check out our Japan eSIM plans for high-speed access on networks like SoftBank and KDDI.
- Traveling to Asia? If your itinerary includes the Great Wall or the bustling streets of Shanghai, consider our China eSIM plans. These plans often include built-in routing that helps you stay connected to your essential Western apps and services without extra configuration.
If your destination isn't listed above, don't worry. You can explore MollySIM destinations to find data packages for virtually every country on the planet.
Section 8: Troubleshooting Dual SIM Issues on the Road
Even with perfect preparation, technology can sometimes be stubborn. Here are the most common issues travelers face with Dual SIM setups and exactly how to fix them.
Issue 1: My Home Line says "No Service"
If your home line shows "No Service," it means it cannot find a roaming partner network to connect to.
- Impact: You will not be able to receive standard SMS 2FA texts.
- Fix 1: Go to Settings > Cellular > [Home Line] > Network Selection. Turn off "Automatic" and manually tap on different networks from the list until one connects.
- Fix 2: If you have an iPhone, this is actually the perfect scenario to force "Wi-Fi Calling over Cellular Data." Make sure your travel eSIM has a strong data connection, and wait a few minutes. The iPhone should realize the home line is dead and automatically route it through the travel data. The status bar will update to show "[Home Carrier] using Cellular Data."
Issue 2: iMessage randomly deregistered my phone number
Sometimes, when swapping networks, Apple's servers get confused and uncheck your phone number in the iMessage settings, defaulting to your Apple ID email address.
- Impact: Your texts to other iPhones will show up as coming from your email address, confusing your contacts.
- Fix: Go to Settings > Messages > Send & Receive. Tap your phone number to re-verify it. Warning: Activating iMessage sometimes requires the phone to send a silent, hidden SMS to Apple's servers. If you do this while roaming without Wi-Fi calling active, it might trigger a daily pass. It is best to fix iMessage issues while connected to hotel Wi-Fi.
Issue 3: My battery is draining incredibly fast
Running two active cellular radios simultaneously (DSDS) requires more power than running a single SIM.
- Impact: Your phone may die by mid-afternoon instead of evening.
- Fix 1: Turn on Low Power Mode.
- Fix 2: Downgrade your Home Line's network connection. Because your home line is only being used for tiny SMS text messages, it does not need 5G. Go to Settings > Cellular > [Home Line] > Voice & Data, and change it from 5G Auto to LTE or even 3G. This drastically reduces the power required to maintain the standby connection.
Issue 4: I accidentally sent a green text message and triggered a roaming fee
It happens to the best of us. You replied to an Android user without thinking, and boom—a $10 charge.
- Impact: You are now paying for a 24-hour travel pass.
- Fix: You cannot undo the charge for that day. However, because you have already paid for the next 24 hours, you might as well use it! If you need to make urgent voice calls to non-Apple users back home, do it within that 24-hour window. Just be absolutely certain to stop using the home line before the 24-hour clock expires to avoid triggering a second day of charges.
Section 9: Advanced Dual SIM Strategies for Frequent Travelers
For the digital nomads and frequent flyers, basic Dual SIM management is just the beginning. Here are some advanced strategies to optimize your mobile connectivity.
Managing Multiple eSIM Profiles
While a phone can usually only have two active lines at a time, modern smartphones can store anywhere from 5 to 8 inactive eSIM profiles in their memory.
If you are doing a multi-leg journey (e.g., USA to UK to UAE to Thailand), you do not need to delete your UK eSIM to install your UAE eSIM. You can download all of them before you leave home, label them appropriately, and simply toggle them on and off in your Cellular Settings as you cross borders. This saves you from having to hunt for Wi-Fi at the airport to download your next profile.
The "Data Only" Limitation and VoIP Solutions
Most travel eSIMs (including MollySIM plans) are "Data Only." They do not come with a local phone number. For 95% of travel needs, this is perfect. You use WhatsApp, FaceTime, or Zoom for calls.
However, occasionally you need to call a local landline—for example, calling a local restaurant in Paris for a reservation, or calling a local tour operator. Because your travel eSIM doesn't have a voice line, and calling from your home SIM would trigger massive international long-distance roaming fees, you need an alternative.
The Solution: Download a Voice over IP (VoIP) app like Skype or Google Voice. Load $5 of credit into the app before you travel. When you need to call a local Parisian restaurant, open Skype, dial the local +33 number, and place the call. Skype will use your travel eSIM's cellular data to place the call, costing you only pennies per minute from your Skype credit, completely bypassing your carrier's roaming fees.
Understanding Conditional Call Forwarding (CCF)
This is a highly technical warning for advanced users. If your home phone rings while you are abroad, and you do not answer it, it goes to voicemail.
On some legacy carrier networks, the act of the call traveling across the ocean to your phone, ringing, and then being bounced back across the ocean to your carrier's voicemail server is considered a "routed call" and can trigger a roaming fee, even if you didn't answer.
To be absolutely, 100% safe from this rare scenario, you can set up Unconditional Call Forwarding before you leave home. You can forward all your home calls directly to your voicemail (or to a Google Voice number). This prevents the call from ever reaching the foreign network in the first place. You will still receive SMS texts, but your phone will not ring for voice calls.
Section 10: Frequently Asked Questions (FAQ)
To ensure you have absolute clarity before your trip, here are the most frequently asked questions regarding Dual SIM travel.
1. Will I get charged by my home carrier for receiving an SMS text message abroad? In almost all cases, no. Major carriers (AT&T, Verizon, T-Mobile, EE, O2, Rogers, etc.) do not charge you to receive standard SMS text messages globally. This is what makes Dual SIM travel for 2FA possible. However, always double-check your specific carrier's international terms just to be certain.
2. How do I know which line is ringing when someone calls me? Both iOS and Android have visual indicators. On an iPhone, when a call comes in, there is a small gray box underneath the caller ID that will display a letter (e.g., "P" for Primary, or "H" for Home) indicating which line is receiving the call. If it is your home line, let it go to voicemail to avoid fees.
3. Can I use my travel eSIM as a hotspot for my laptop? Yes! As long as the travel eSIM plan you purchased allows tethering/hotspotting (which most MollySIM plans do), you can turn on your Personal Hotspot. Your phone will share the data connection from your active data line (the travel eSIM) with your laptop or tablet.
4. What is the difference between "Data Roaming" and "Cellular Data"? "Cellular Data" is the master switch that allows your phone to connect to the internet via cell towers. "Data Roaming" is a secondary switch that gives your phone permission to use data when it is not connected to its native home towers. For your Home SIM, you want Cellular Data OFF and Data Roaming OFF. For your Travel eSIM, you want Cellular Data ON and Data Roaming ON.
5. Does using a travel eSIM mean I lose my WhatsApp chats? Absolutely not. WhatsApp is tied to your phone number, not your physical SIM card. As long as you do not explicitly go into WhatsApp settings and choose "Change Number," all your chats, groups, and contacts will remain exactly as they are, utilizing the travel eSIM for internet access.
6. What happens if I accidentally leave "Allow Cellular Data Switching" turned on? If you leave this setting on (iPhone) or "Auto data switching" on (Android), your phone will constantly evaluate which SIM has a better internet connection. If you walk into a concrete building and your travel eSIM loses 5G, your phone will instantly switch to your Home SIM to keep your background apps connected. This will instantly trigger a $10-$15 daily roaming pass from your home carrier. Always keep this setting off.
7. Can I test my Dual SIM setup before I leave for the airport? Yes, you can do a dry run. Install your travel eSIM (it won't activate until it reaches the destination network, but the profile will be on your phone). Go into your settings and turn off Cellular Data for your Home line. Turn off your Wi-Fi. Try to browse the web; it should fail. Try to send a green SMS to a friend; it should succeed (using the voice network). This confirms your data is isolated but your texts are flowing.
8. Why does my iPhone say "MollySIM using Cellular Data"? If you see this, congratulations! You have successfully activated Backup Calling. Your iPhone has realized your home line has no service (or you turned off its roaming), and it is brilliantly using the internet connection of your MollySIM eSIM to power your home line. You can now make and receive calls on your home number for free.
9. Are eSIMs secure for banking and 2FA? Yes. eSIMs use the exact same cryptographic security protocols as physical SIM cards. Furthermore, because an eSIM cannot be physically removed from a stolen phone, they are arguably more secure against SIM-swapping attacks than physical cards.
10. What if my phone is locked by my carrier? This is a critical point. If your phone is "carrier locked" (meaning you are still paying it off on an installment plan with your home carrier), you generally cannot install a third-party travel eSIM. Your phone will reject the profile. You must contact your carrier and request a "temporary international unlock" or pay off the device to unlock it before purchasing a travel eSIM.
Conclusion: Travel with Confidence
The days of choosing between massive carrier roaming bills and total digital isolation are officially over. By understanding the mechanics of Dual SIM technology, recognizing what triggers carrier fees, and properly configuring your smartphone's data routing, you hold the power to travel the world seamlessly.
You can now confidently step off the plane in Tokyo, Paris, or New York, immediately receive your banking 2FA texts, order your rideshare, and navigate to your hotel—all powered by affordable, local data.
Preparation is the ultimate key to a stress-free journey. Take the time to configure your settings, double-check your toggles, and secure your data plan before you pack your bags. If you are ready to take control of your mobile connectivity and experience the freedom of dual SIM travel, browse MollySIM eSIM plans today and find the perfect data package for your next great adventure. Safe travels, and stay connected!
🇺🇸 United States High-Speed Travel eSIM & SIM Plans
Instant QR code activation, hotspot enabled, with guaranteed 384kbps fallback speed to keep Maps & Digital Wallets active.