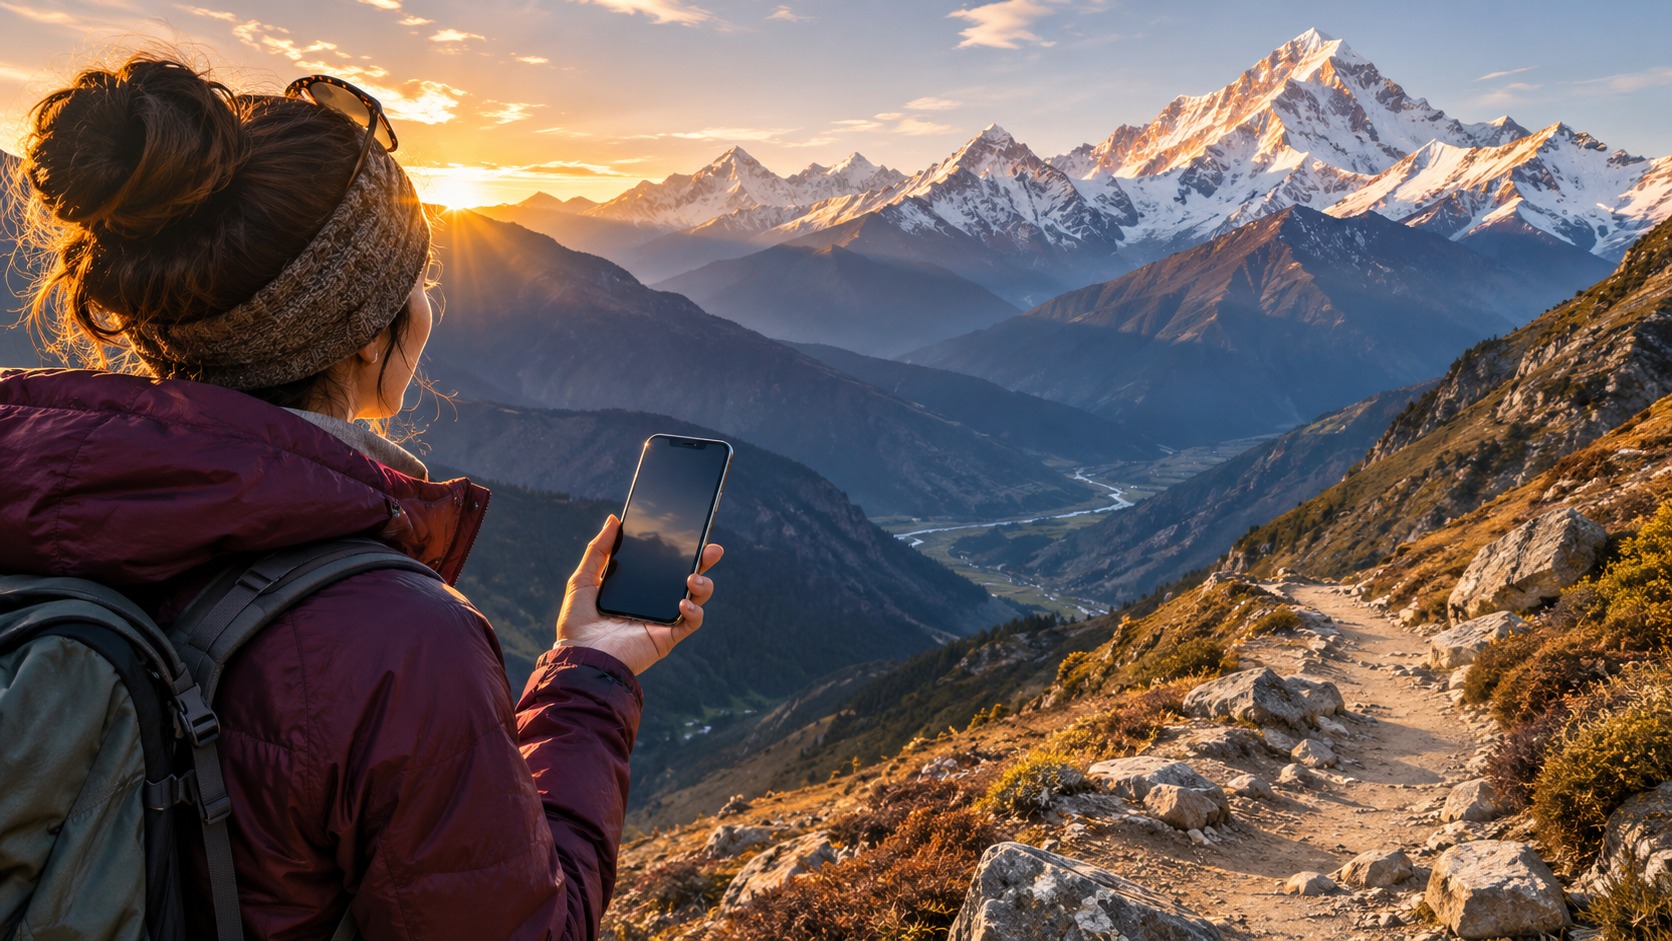
Choosing a Nepal eSIM for trekking starts with a practical question: where will your phone have a usable connection along your route? Ncell and Nepal Telecom operate local mobile networks, but coverage can change between valleys, villages, and elevations. A working connection in a town does not promise service on the next remote stretch.
Treat mobile data as a useful tool for connected parts of your trip, not as your only navigation or emergency plan. Before you leave home, compare the plan shape with your route, install the eSIM over reliable Wi-Fi, confirm when its validity begins, and test data while you still have access to help. Download maps and essential trip details for offline use as well.
Nepal eSIM for trekking: decide what the connection must do
Start by listing the tasks you expect your phone to handle. Maps, messaging, email, ride-hailing, and QR payments each need a working data connection when used online. Some details may be available offline if you prepare them in advance; other actions, such as sending a message or completing an online payment, need connectivity at the time.
Save route information, lodging details, transport instructions, and important contacts so you can open them without a network. A screenshot or downloaded document is more useful than a link that needs to load later. Then decide what you want to do online when a signal is available, such as messaging, checking a map, or coordinating transport. Your expected habits should guide the allowance you choose.
A Nepal eSIM also does not make mountain coverage continuous. If the phone cannot reach a local network in a particular place, a larger data allowance will not create a signal there. Make the decision in two parts: choose a plan that suits your expected online use, then prepare for sections where no mobile service is available.
Ncell vs Nepal Telecom coverage on trekking routes
🇳🇵 Nepal High-Speed Travel eSIM & SIM Plans
Instant QR code activation, hotspot enabled, with guaranteed 384kbps fallback speed to keep Maps & Digital Wallets active.
Ncell and Nepal Telecom are the local networks a traveller may encounter. No single network should be treated as dependable everywhere on a trekking route. Coverage can vary by valley, village, and altitude, and remote stretches can have no signal. The useful comparison is therefore tied to your actual itinerary rather than a broad claim that one carrier is always better.
Before departure, list overnight stops and major transitions, then compare current coverage information for both networks at places where you expect to need a connection. Check towns and villages separately from the stretches between them: a coverage indication near a settlement does not guarantee service on the trail beyond it. Identify which local network your plan can access before buying; do not infer that from the word “Nepal” alone.
| Choice | What it can provide | Main trade-off for a trek |
|---|---|---|
| Data-only travel eSIM | Mobile data on the plan’s supported local network or networks, according to its terms | You need to confirm supported network access, validity, allowance, and hotspot terms; remote coverage can still be absent |
| Local prepaid SIM | A local plan and a local network connection under that SIM’s terms | You need to compare the specific plan and registration or activation steps, then account for coverage gaps on the route |
| Home-carrier roaming | Your existing mobile service under your home carrier’s roaming terms | Price, included data, and network access depend on your home plan; confirm those terms before relying on it |
Compare the actual plan terms available to you. Access to both local carriers may offer more choice than access to one, but it still cannot guarantee service in every valley or at every altitude.
For Nepal eSIM coverage in the Annapurna region, use the same careful method: break your itinerary into places, check each network against those places, and assume that coverage may change as the route climbs or leaves a village. Do not turn a coverage display into a promise for a whole region. Carry offline route information even when your research shows coverage in some stops.
Compare plan validity, data, hotspot, and network access
Coverage is only one part of a useful plan. Compare four plan details before you buy: how much data is included, how long the plan remains valid, which network or networks it can use, and whether hotspot sharing is supported. These details affect different parts of your trip. An allowance can run out while the plan remains valid; a long validity period does not mean a large allowance; and a hotspot can help another device only if the plan permits sharing and the phone has a connection.
| Plan detail | Question to answer before departure | Why it matters on a trek |
|---|---|---|
| Data allowance | How much high-speed data is included, and what happens after it is used? | You can reserve high-speed use for tasks that need it and avoid assuming that all activities use the same amount |
| Validity | When does the plan start, and how long does it stay active? | An early start can use part of the plan before the trek; a late start can leave setup until you have less reliable internet |
| Network access | Does the plan state whether it uses Ncell, Nepal Telecom, or both? | You can compare the named network with the route information you gathered |
| Hotspot | Does the plan allow your phone to share its connection? | You can decide whether a second device can use the connection, subject to signal and plan terms |
Online maps, downloaded maps, text, photo sharing, video, and QR payments use data differently. Settings and content affect usage, so check the plan’s usage display during a connected part of your trip if one is available.
MollySIM travel eSIMs are prepaid and have no contract. After the high-speed allowance is used, data continues at 384 kbps under the fair-use policy. That can keep basic messaging, email, maps, and QR payments available for low-bandwidth use when the phone has a mobile signal. It is not a guarantee that every map will load quickly or that media will play well. At that speed, avoid relying on large downloads, high-resolution images, or video. Download what matters before the trek and treat continued low-speed data as a backup for basic tasks.
A high-speed allowance and the 384 kbps continuation do not solve a coverage gap. If neither supported local network is reachable, the phone cannot use mobile data until it reconnects. Keep that distinction in mind when deciding whether to use a travel eSIM alone or to compare it with a local prepaid SIM or home-carrier roaming plan.
How to activate a Nepal eSIM before trekking
Install while you have reliable Wi-Fi and enough time to read the on-screen instructions. Travel eSIMs are delivered by email as an activation QR code, usually within minutes of payment, and nothing ships. Because installation and activation timing can differ by plan, confirm the instructions for your specific eSIM before scanning or turning on the line.
- Check phone compatibility. Confirm that your device supports eSIM and is compatible with the plan. Use the phone maker’s device settings or documentation to check eSIM support, and compare the plan’s requirements before you order. A QR code alone does not make an incompatible phone work.
- Read the activation instructions. Find out whether validity starts when you install the profile or when it first connects to a supported network. This is the key timing detail: installing early can be convenient, but if the plan starts at installation you may use validity before the trip. If it starts on first connection, follow the plan’s timing directions instead of guessing.
- Install over reliable Wi-Fi. Open the QR code from another screen or use the method described in the instructions. Follow the phone prompts and label the new line clearly so you can distinguish it from your home SIM. Do not remove or change your existing line unless the instructions require a setting change.
- Set the line for data at the right time. When the plan says it is ready to activate, select the Nepal eSIM for mobile data. Keep your home line available for the calls and SMS you still expect to receive, while checking the charges and settings for that line with your carrier.
- Test before setting out. While you still have dependable Wi-Fi and support access, confirm that the eSIM appears in your phone settings and that the QR installation completed. When the plan should be active and a supported network is in range, switch off Wi-Fi briefly and test a simple webpage or message. If it does not connect, check that the correct line is enabled for data and review the plan’s setup instructions before leaving town.
The practical answer to how to activate a Nepal eSIM before trekking is to install it in advance, then activate it at the time its instructions specify. Avoid waiting until you are already on a trail to scan a QR code, find a stable internet connection, or work out which line is selected for data.
Prepare for disconnected stretches
Before leaving a connected area, download maps for the places you plan to visit and open them in offline mode to confirm they are available. Save lodging addresses, transport details, booking references, and route notes where your phone can reach them without signing in or loading a service. Tell companions where the shared trip information is stored. If you plan to use a second device, confirm that hotspot sharing is allowed and save offline files to that device too. A hotspot cannot help without signal, and it can use your allowance when it works.
Do not make a live map or message the only way to know your next step. When you regain signal, handle tasks that could not be completed offline and download updated details you will need later.
MollySIM travel eSIMs run alongside your existing SIM on a dual-SIM phone. That lets you keep your own number for calls and SMS while mobile data runs on the MollySIM plan. Set the correct line for data before you start using apps, and understand that having your home number active does not provide Nepal data coverage by itself. If you need calls or SMS over the local connection, confirm that the product supports those functions; do not assume a data-only travel eSIM includes a local voice number.
Nepal eSIM for trekking: choose around your itinerary
A useful decision process is short. First, mark the places where you need an online task to work, then compare the supported network against current coverage information for those locations. Next, compare validity and allowance with your travel dates and expected use. Confirm hotspot terms if you plan to connect another device. Finally, set up the eSIM and prepare offline materials before the trek.
If you are travelling through multiple countries, compare global eSIM options for multi-country trips with a Nepal-specific plan. For a Nepal-only itinerary, review the Nepal eSIM plans for trekking and look for the network, validity, allowance, and hotspot details that matter to your route. Other eSIM travel planning guides can help you plan setup and data use before departure.
The best eSIM for trekking in Nepal is the option whose actual plan terms fit your itinerary and device, with a network you have checked against your route. No plan can promise connection on every remote stretch. Keep your critical information offline and treat online access as a convenience wherever a supported local signal is present.
Frequently Asked Questions
Which carrier has better coverage on Nepal trekking routes, Ncell or Nepal Telecom?
It depends on the route, village, and altitude. Neither carrier is dependable everywhere, and remote stretches may have no signal. Compare current coverage for the locations on your itinerary and save maps and essential trip details for offline use.
Can I install a Nepal eSIM before I arrive?
Usually, you can install a travel eSIM while reliable internet is available, then activate it according to its instructions. Check whether validity begins at installation or when the eSIM first connects. Install early only after you understand that timing.
Will a Nepal eSIM work throughout a high-altitude trek?
No mobile network can guarantee service throughout remote mountain terrain. Coverage can vary with location and altitude, and there may be stretches without a signal. Download maps and important trip details before leaving a connected area.
What should I test before leaving for the trail?
Confirm that your phone supports the eSIM, that the profile appears in settings, and that the plan is activated according to its timing instructions. When a supported network is in range, turn off Wi-Fi briefly and try a basic data task. Save offline maps and trip information regardless of the test result; a successful connection in town does not guarantee service farther along the route.
SEO Score: 11/11
🇳🇵 Nepal High-Speed Travel eSIM & SIM Plans
Instant QR code activation, hotspot enabled, with guaranteed 384kbps fallback speed to keep Maps & Digital Wallets active.